How to Reduce PDF Size on Mac Free — Complete Guide 2026
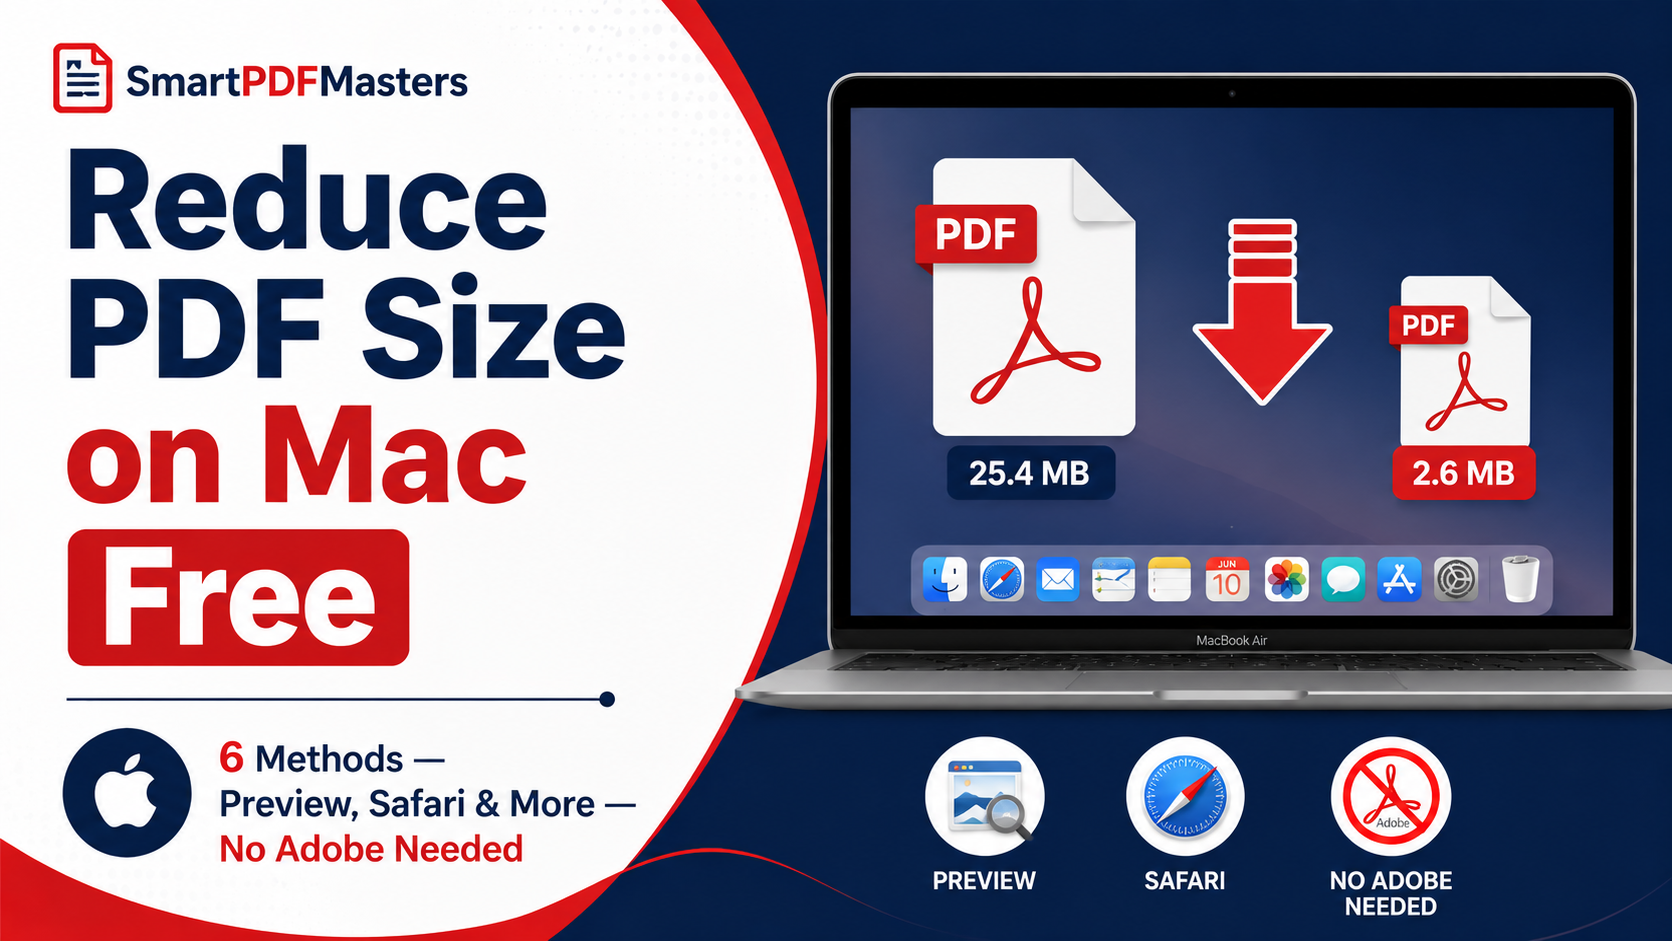
Learn how to reduce PDF file size on Mac for free in 2026 — six proven methods using Preview, Quartz filters, Automator, and free online tools without needing Adobe Acrobat.
🛠 Free tools mentioned in this article
Mac users have more built-in options for reducing PDF file size than any other platform — Preview, Quartz filters, Automator, and ColorSync Utility are all available on every Mac without downloading anything. But the results from these built-in tools vary significantly, and knowing which method works best for which type of PDF makes the difference between a dramatically smaller file and one that is barely changed.
This complete guide covers every free method to reduce PDF size on Mac in 2026 — from the simplest one-click Preview export to advanced Automator workflows — and explains exactly when to use each one for the best results.
Why Your PDF Is Large on Mac
Before choosing a compression method, it helps to understand what is making your specific PDF large. The right method depends on the cause.
PDFs exported from Keynote or PowerPoint are often large because presentation slides contain full-resolution images, decorative backgrounds, and embedded fonts. Compression works very well on these because the images have significant redundant data.
PDFs created from scanned paper documents are large because each page is stored as a high-resolution photograph. These compress well with image resampling but the text may not be selectable.
PDFs exported from Pages, Word, or Google Docs with many embedded images or revision history can be reduced significantly by re-exporting with lower quality settings or by removing the tracked changes before exporting.
PDFs downloaded from the web may already be optimised, in which case further compression produces minimal size reduction without quality trade-offs.
Method 1 — Reduce PDF Size on Mac Using Preview (Quickest Built-in Method)
Preview is the fastest starting point for reducing PDF size on Mac. While its compression capabilities are limited compared to dedicated tools, it is instant and requires no downloads.
Open your PDF in Preview. Go to File in the menu bar and choose Export as PDF. In the export dialog that appears, click the Quartz Filter dropdown menu. Select Reduce File Size. Choose where to save the file and click Save.
The result is a smaller PDF. The Preview Reduce File Size filter aggressively resamples images to 72 DPI — adequate for screen viewing but not suitable for professional printing. Text remains sharp.
The main limitation of Preview's Reduce File Size filter is that it applies the same aggressive image reduction regardless of the original document type. For some PDFs — particularly those with many images — this produces noticeably lower quality output. For text-heavy documents, the quality difference is imperceptible.
After using Preview to compress, if the result is still larger than you need, combine it with our online Compress PDF tool for additional reduction.
Method 2 — Reduce PDF Size on Mac Using a Custom Quartz Filter (Better Quality)
Preview's default Reduce File Size filter is very aggressive. You can create a custom Quartz filter that resamples images to 150 DPI rather than 72 DPI — producing a much better balance between file size reduction and image quality.
Open ColorSync Utility (find it using Spotlight — press Command + Space and type ColorSync). Click the Filters tab. Click the Add button (plus sign) at the bottom left to create a new filter. Name it something like PDF 150 DPI Compress. In the filter settings, add an Image Sampling component. Set the compression to JPEG. Set the quality to Medium. Set the resolution to 150 DPI. Save the filter.
Now when you use Preview's Export as PDF option, your new custom filter appears in the Quartz Filter dropdown. Select it instead of the default Reduce File Size filter for better quality output at a still significantly smaller file size.
This method produces excellent results for most PDFs and is appropriate for documents that will be printed at standard office quality or shared professionally.
Method 3 — Reduce PDF Size on Mac Using Automator (Batch Processing)
If you regularly need to compress many PDF files on Mac, Automator lets you create a workflow that processes multiple PDFs at once — much more efficient than compressing files one by one in Preview.
Open Automator (find it in your Applications folder or using Spotlight). Choose Quick Action or Workflow as the document type. In the search bar, type PDF. Find the action called Apply Quartz Filter to PDF Documents and drag it into your workflow. In the action settings, choose your preferred Quartz filter — either the built-in Reduce File Size or a custom filter you created in ColorSync.
Add a Move Finder Items action afterward to specify where the compressed files should be saved — otherwise Automator overwrites the originals.
Save the workflow. You can now drag multiple PDF files onto your workflow to compress them all at once. In Finder, right-click selected PDF files, choose Quick Actions, and your Automator workflow appears in the list.
Method 4 — Reduce PDF Size on Mac Using Safari and Our Compress PDF Tool (Best Quality Control)
For the most control over compression quality — choosing between light, medium, and maximum compression — use our Compress PDF tool directly in Safari on your Mac.
Open Safari and go to smartpdfmasters.com. Click the Compress PDF tool. Drag your PDF from Finder onto the upload area, or click to browse. Select your compression level — Recommended for the best balance, Maximum for the smallest possible file. Click Compress and wait a few seconds. Download the compressed PDF.
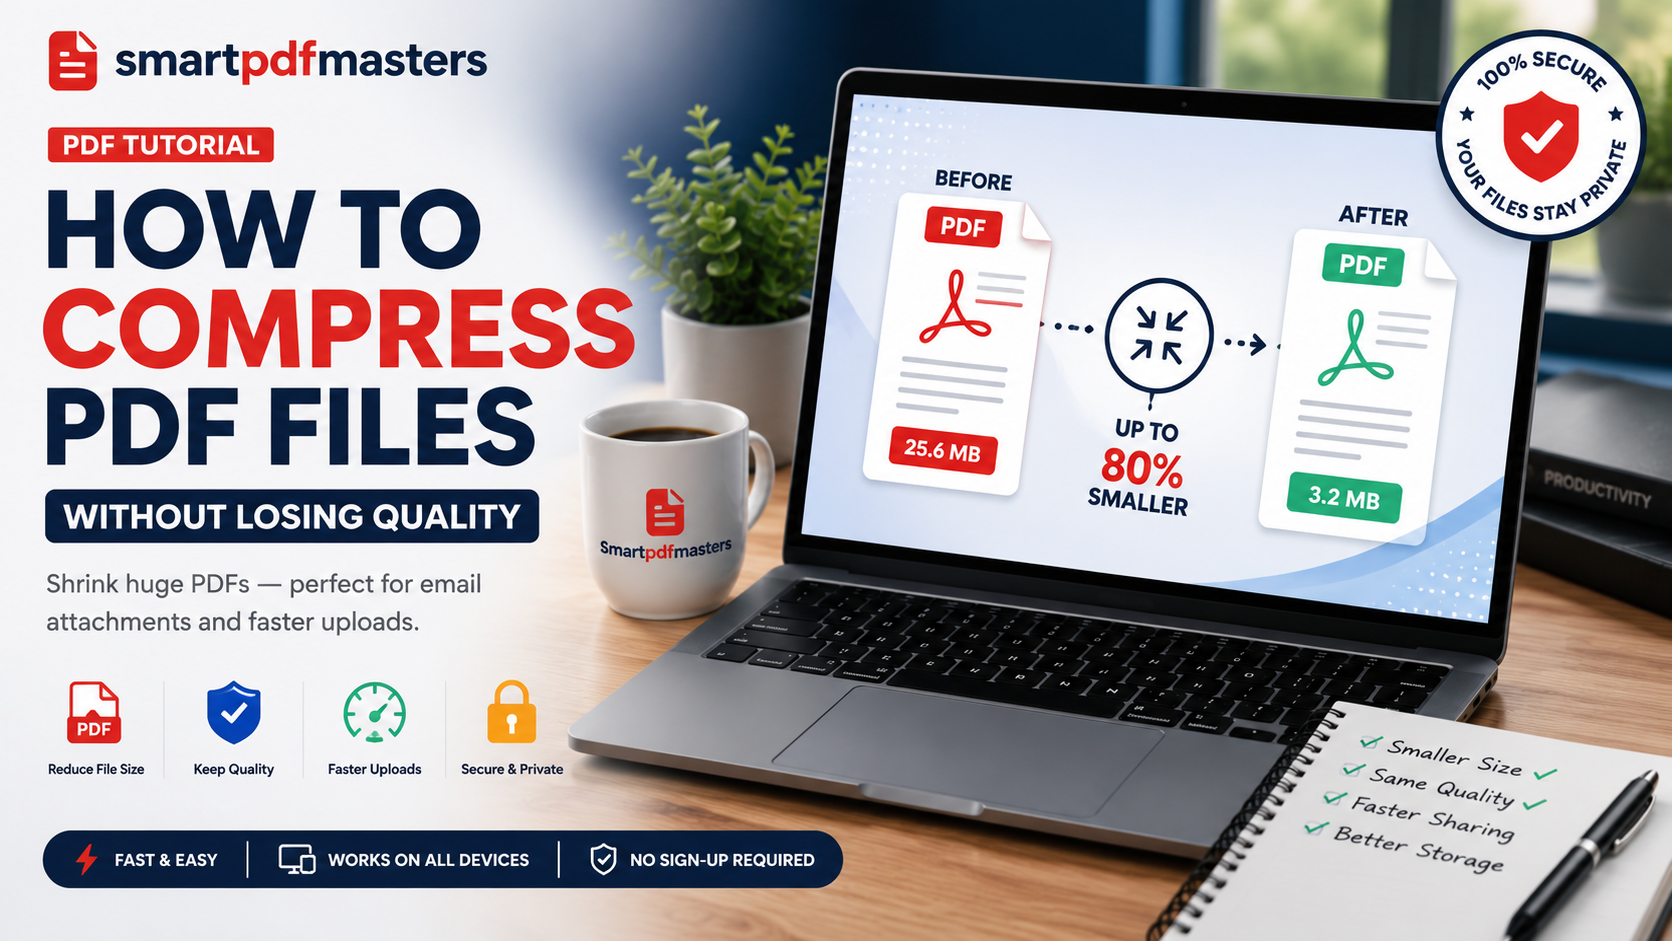
This method gives you three distinct quality levels and processes your file in the browser without uploading to any server. For most PDFs, it achieves 50 to 80 percent size reduction while keeping text perfectly sharp and images clear for screen viewing and standard printing.
This is the recommended method when you need reliable, predictable compression results and want control over the output quality.
Method 5 — Re-export from the Original Application (Best Results for Presentations and Designs)
If you still have the original Keynote, Pages, Word, or design file that you exported to PDF, re-exporting with lower image quality settings almost always produces a smaller PDF than compressing an already-exported file.
From Keynote: Go to File then Export To then PDF. In the export options, choose the Image Quality setting — choose Good rather than Best for a significantly smaller file that still looks excellent on screen.
From Pages: Go to File then Export To then PDF. Click the Image Quality dropdown and choose Good or Better rather than Best.
From Microsoft Word on Mac: Go to File then Save As, choose PDF, and click Options. Look for image quality settings and reduce from High to Standard.
From Google Docs in Chrome: Go to File then Download then PDF Document. Google automatically uses moderate image quality that produces reasonably sized files.
Re-exporting from the source typically produces 30 to 60 percent smaller files than compressing an already-exported PDF, because you are controlling image quality at the source rather than resampling images that have already been embedded.
Method 6 — Remove Unnecessary Content Before Compressing (For Documents from Word Processors)
If your PDF was created from a Word or Pages document that went through multiple editing sessions, it may contain hidden content that inflates the file size — tracked changes, comments, revision history, attached notes, and embedded document previews.
Use our PDF to Word tool to convert the PDF back to a Word document. Open the resulting DOCX in Microsoft Word for Mac. Go to the Review tab and Accept All Changes to remove tracked changes. Delete all comments. Remove any attached notes or annotations. Go to File then Save As and export as a fresh PDF with standard quality settings.
The clean re-export strips out all accumulated hidden data. The result is often dramatically smaller than the original PDF without any visible change to the document content.
Comparing the Methods — When to Use Each One
For a quick reduction with no setup required: use Method 1 (Preview Reduce File Size filter). Acceptable for casual use where image quality is not important.
For better quality reduction with no setup required: use Method 4 (our Compress PDF tool in Safari). Best for most situations — gives you quality control and reliable results.
For high-volume batch compression: use Method 3 (Automator workflow). Set it up once and compress many files at once without manual effort.
For presentation and design PDFs: use Method 5 (re-export from source). Re-exporting Keynote or design files with lower image quality always outperforms post-export compression.
For documents with tracked changes and revision history: use Method 6 (convert to Word, clean, re-export). The only way to remove hidden content bloat.
What to Do After Reducing PDF Size on Mac
Once you have a smaller PDF, you can share it by email — most compressed PDFs of standard business documents are well under Gmail's 25MB and Outlook's 20MB attachment limits. You can upload it to university portals, government submission systems, or job application platforms that impose file size limits. You can archive the compressed version in iCloud Drive or an external drive to save storage space.
If you need to combine your compressed PDF with other documents, use our Merge PDF tool to join them into one file.
If you need to extract specific pages from a large PDF before or after compressing, use our Split PDF tool to divide the document into smaller sections.
Frequently Asked Questions
How do I reduce PDF size on Mac for free without Adobe Acrobat?
Use Preview's built-in Export as PDF function with the Reduce File Size Quartz filter — go to File then Export as PDF and choose Reduce File Size from the Quartz Filter dropdown. For better quality control, use our free Compress PDF tool in Safari.
Why does Preview's Reduce File Size make my PDF blurry?
Preview's default Reduce File Size filter resamples images to 72 DPI, which is very aggressive. Create a custom Quartz filter in ColorSync Utility set to 150 DPI for significantly better image quality while still reducing file size substantially.
How do I reduce PDF size on Mac without losing quality?
Use our Compress PDF tool in Safari with the Recommended compression level. Text remains perfectly sharp at all compression levels because it is stored as vectors. Images are resampled to screen resolution, which is indistinguishable from the original when viewed on screen.
How do I reduce PDF size on Mac Monterey, Ventura, or Sonoma?
All methods in this guide work on macOS Monterey (12), Ventura (13), and Sonoma (14). Preview, ColorSync Utility, and Automator are available on all these versions. Our online Compress PDF tool works in Safari on all Mac versions.
How do I reduce a large Keynote PDF on Mac?
Re-export from Keynote directly rather than compressing the already-exported PDF. Go to File then Export To then PDF and choose Good rather than Best for image quality. This produces much smaller files than compressing an exported PDF.
Can I compress multiple PDFs at once on Mac?
Yes. Create an Automator workflow using the Apply Quartz Filter to PDF Documents action. Once set up, you can compress many PDFs simultaneously by selecting them in Finder and running the workflow through Quick Actions.
Ready to work with your PDFs?
All six tools are completely free — no signup, no watermarks, no limits.