How to Make a PDF Smaller Without Losing Quality — Complete Guide 2026
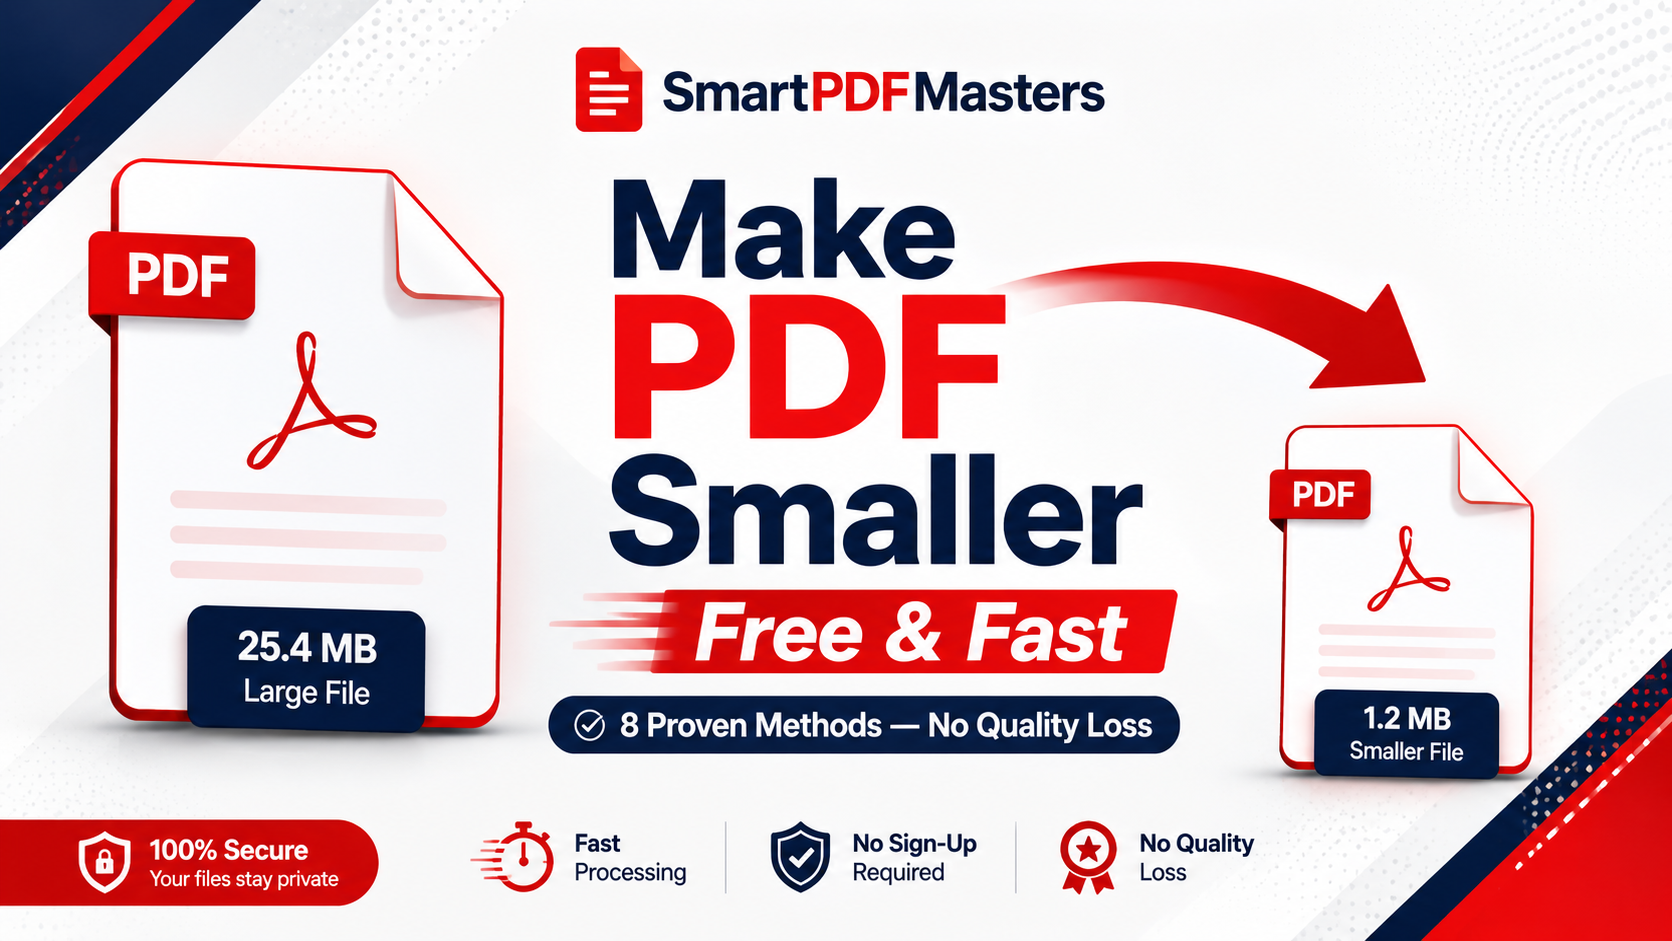
Learn 8 proven free methods to make any PDF smaller without losing quality — for email, WhatsApp, Google Drive and upload portals on any device.
🛠 Free tools mentioned in this article
Making a PDF smaller is one of the most searched document tasks on the internet — and for good reason. A PDF that is too large cannot be emailed, gets rejected by upload portals, takes too long to share on WhatsApp, and uses unnecessary storage on your device. Whether your PDF is 50MB, 100MB, or even larger, there are at least eight proven free methods to make it significantly smaller without losing quality that matters for reading, printing, or professional sharing.
This complete guide explains exactly why PDFs become large, which method works best for each type of document, and how to make a PDF smaller on Windows, Mac, iPhone, iPad, and Android — all for free.
Why Is My PDF So Large?
Before choosing a method to make your PDF smaller, it helps to understand what is making it large in the first place. Different causes require different solutions.
Large embedded images are the most common reason PDFs become oversized. When you export a document to PDF from Word, PowerPoint, InDesign, or any other application, images are often embedded at full print resolution — 300 DPI or higher. A single full-page photograph at 300 DPI can occupy 3 to 8 megabytes on its own. A presentation with twenty such slides can easily exceed 100MB.
Scanned pages stored as high-resolution images make PDFs large in a different way. When you scan a paper document, each page is photographed at whatever resolution your scanner is set to — often 300 or 600 DPI by default — and stored as a large image inside the PDF. A 20-page scanned report can easily reach 50MB or more.
Embedded fonts add weight that is invisible to the reader. PDF files often include the complete font files used in the document so the text displays correctly on every device. A single embedded font can add 200 to 500 kilobytes, and a document that uses many different fonts accumulates this weight quickly.
Invisible metadata and revision history also contribute to PDF file size. Word processors and design applications store edit history, thumbnail previews, form field data, comments, annotations, and other hidden data inside the PDF. None of this is visible to the reader, but it all adds to the file size.
Duplicate or unoptimised embedded content occurs when the same image is embedded multiple times in a document — for example, a company logo that appears on every page stored as a separate copy per page rather than as a single shared resource.
Method 1 — Compress PDF Online Free (Best Overall Method)
For most people and most types of PDF, using a free online PDF compressor is the fastest and most effective way to make a PDF smaller without losing quality. Our Compress PDF tool processes your file in your browser in seconds — no software installation, no account required, no watermark added to your compressed file.
Open the Compress PDF tool. Click the upload area or drag and drop your PDF. Select your compression level — recommended for most documents, or maximum if you need the absolute smallest file size. Click Compress and wait a few seconds. Download your smaller PDF.
For most text-heavy documents like contracts, reports, and typed letters, this method reduces file size by 60 to 80 percent with no visible change in quality. For image-heavy documents like presentations and brochures, the reduction is typically 30 to 60 percent at the recommended level and 60 to 80 percent at maximum compression.
Method 2 — Re-export from the Original Application with Lower Quality Settings
If you still have the original Word document, PowerPoint file, or design file that you exported to PDF, re-exporting with lower quality settings almost always produces a smaller PDF than compressing an already-exported file. This is because you are controlling the image resolution at the source rather than trying to reduce it after the fact.
In Microsoft Word: Go to File, then Save As, choose PDF as the format. Before saving, click Options or More Options and look for the image quality or publish setting. Choose Standard rather than Minimum size or High quality. This setting controls the DPI at which images are embedded in the PDF.
In Microsoft PowerPoint: Go to File, then Export, then Create PDF/XPS. Click Options and reduce the image quality slider from High to Medium or Standard. For presentations that will only be viewed on screen and never printed, this setting makes an enormous difference.
In Google Slides: Go to File, then Download, then PDF Document. Google automatically compresses images to a reasonable level, often producing smaller files than PowerPoint's default export.
In Adobe InDesign: Open the Export dialog for PDF, go to the Compression section, and reduce the image resolution for colour, greyscale, and monochrome images. Setting these to 96 or 150 DPI instead of 300 DPI produces much smaller files suitable for screen viewing.
Method 3 — Convert PDF to Word, Remove Unnecessary Content, Re-export
If your PDF accumulated hidden weight through multiple editing sessions — tracked changes, comments, embedded revision history, duplicate resources — converting it to Word, cleaning it up, and re-exporting as a fresh PDF removes all invisible bloat.
Use our PDF to Word tool to convert the PDF to an editable DOCX file. Open the DOCX in Microsoft Word or Google Docs. Accept all tracked changes, delete all comments, remove any images or embedded objects you do not need. Go to File and export or save as PDF with standard quality settings. The resulting PDF will be significantly smaller because it starts fresh with only the content you kept.
Method 4 — Remove Unnecessary Pages Before Compressing
If your PDF contains pages you do not need — blank pages from double-sided scanning, cover pages with large images, appendices that are not relevant for the current recipient — removing them before compressing reduces the file size proportionally.
On Mac: Open the PDF in Preview. Go to View and select Thumbnails. Select the page thumbnails you want to delete (hold Command for multiple selections). Press Delete. Go to File and Export as PDF to save the reduced document.
On Windows: Open the PDF in Chrome, press Ctrl and P, select Save as PDF, and in the Pages field enter only the page numbers you want to keep. For example, to keep pages 1 through 10 and 15 through 20, enter 1-10,15-20. Click Save. The downloaded PDF contains only the pages you specified.
After removing unnecessary pages, run the trimmed PDF through our Compress PDF tool for maximum size reduction.
Method 5 — Use Preview on Mac (Built-in Quartz Filter)
Mac users have a quick built-in option for reducing PDF size through the Quartz filter in Preview — no additional software needed.
Open the PDF in Preview. Go to File, then Export. In the Quartz Filter dropdown menu, select Reduce File Size. Click Save.
The results of this method vary significantly depending on the PDF content. For some documents it produces excellent results. For others, particularly those with many photographs, it applies aggressive compression that can make images look blurry. Always check the quality of the output before sending it. If the Quartz filter produces unsatisfactory quality, use our Compress PDF tool instead, which gives you more control over the compression level.
Method 6 — Adjust Scanner Settings for Scanned Documents
If you are creating scanned PDFs and they are coming out large, the most effective solution is to adjust your scanner settings before scanning rather than compressing afterward.
Most scanners default to 300 DPI, which is print resolution. For documents that will only be read on screen and never printed at professional quality, 150 DPI produces perfectly readable results at a fraction of the file size. For very simple documents — text forms, typed letters — even 100 DPI is sufficient.
If you are photographing documents with your phone to convert to PDF using our PNG to PDF tool, take photos in good lighting so you can use a lower camera resolution. Well-lit photos at medium resolution are often sharper than poorly-lit photos at maximum resolution.
Method 7 — Use Grayscale Instead of Colour for Text Documents
Colour information is one of the biggest contributors to PDF file size. If your PDF contains pages that are primarily black text on a white background — contracts, typed reports, emails, text-only forms — converting them to greyscale before compressing can dramatically reduce file size with no meaningful impact on readability.
In most PDF compression tools, look for a greyscale or black and white conversion option. This converts all colour information in the document to shades of grey, which requires significantly less data to store than full colour.
For documents that must remain in colour — presentations, branded materials, photographs — this method is not appropriate. For text-heavy documents, it is one of the most effective size reduction techniques available.
Method 8 — Send via Link Instead of Attachment
If your PDF is genuinely too large to compress to a sendable size — very high-resolution portfolios, architectural drawings, detailed technical manuals — the most practical solution is to stop treating it as an email attachment and share it as a download link instead.
Upload the PDF to Google Drive, Dropbox, or OneDrive and share a link. The recipient clicks the link and downloads the file directly — no email attachment size limit applies. For sensitive documents, use a service that supports expiring links and password protection so the file is not permanently accessible at a public URL.
If you need to send the PDF to multiple people and want to track who has downloaded it, use a document sharing service that provides download analytics.
Choosing the Right Method for Your PDF Type
Different types of PDFs respond differently to size reduction techniques. Here is a quick reference:
Text-heavy documents (contracts, reports, typed letters): Method 1 (compression) and Method 3 (re-export from Word) work best. These documents often compress by 70 to 90 percent.
Presentation files (PowerPoint, Keynote exports): Method 2 (re-export with lower quality settings) works best. Controlling image resolution at the source produces better results than compressing after export.
Scanned documents: Method 1 (compression) works very well for scanned PDFs because scan images contain significant redundant data. Method 6 (lower scanner resolution) prevents the problem before it starts.
Image portfolios and design files: Method 2 (re-export from the design application with lower settings) is most effective. Method 7 (grayscale) is not appropriate for colour design work.
Mixed documents (reports with photos and charts): Method 1 (compression) with the recommended level balances size reduction and quality well.
After Making Your PDF Smaller
Once you have reduced your PDF file size, verify that the quality is acceptable before sending. Open the compressed file on a different device — a phone is ideal — and check that text is readable, images are clear enough for their intended use, and the overall document layout is intact.
If you need to combine the compressed PDF with other documents before sending, use our Merge PDF tool.
If you need to edit content in the compressed PDF, convert it to Word first using our PDF to Word tool.
Frequently Asked Questions
How do I make a PDF smaller without losing quality for free?
Use our Compress PDF tool at the recommended compression level. Text remains perfectly sharp. Images are reduced to screen resolution, which looks identical on screen to the full-resolution original.
What is the fastest way to make a PDF smaller?
Our Compress PDF tool — upload your PDF, click Compress, download the result in under 30 seconds.
How do I make a PDF smaller on iPhone for free?
Open our Compress PDF tool in Safari on your iPhone. Upload your PDF from the Files app, choose your compression level, and download the smaller file.
How do I make a PDF smaller for WhatsApp?
WhatsApp allows documents up to 100MB, so most PDFs send successfully after compression. Use our Compress PDF tool at the recommended level to reduce the file size before sending.
How do I make a scanned PDF smaller?
Scanned PDFs compress very effectively because scan images contain significant redundant data. Use our Compress PDF tool at the recommended or maximum level. For future scans, reduce your scanner resolution to 150 DPI to prevent large files from the start.
How small can I make a PDF?
The minimum achievable size depends on the content. Text-heavy documents can often be compressed to 10 to 20 percent of their original size. Image-heavy documents typically compress to 30 to 50 percent of their original size at acceptable quality.
Ready to work with your PDFs?
All six tools are completely free — no signup, no watermarks, no limits.